What you will need:

- Soy wax - It melts quickly and can be melted on the stove or in the microwave
- Crayons - optional. Some people don't like using crayons for color because it can clog the wick
- Wicks- Use a soy wick for soy wax preferably
- Skewers for mixing
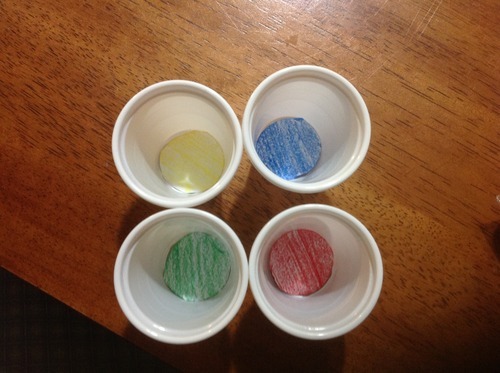
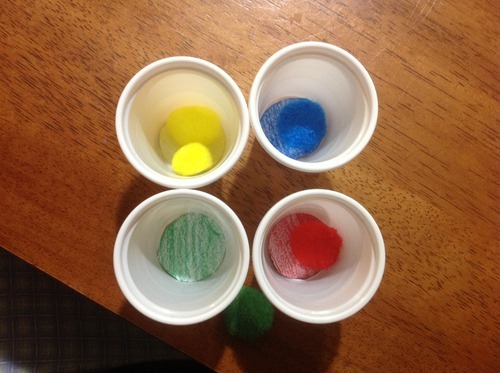
- Color blocks
- Scent blocks, scented oil or an old candle
- Mugs, or other glasses
- Thermometer - optional. My set came with it.
**In the video she used shortening to make her candles instead of soy wax. I didn't have any on hand and didn't go buy any but it is on my to do list.
Let's start with the Caramel Latte Candle - that smells like vanilla lol. You can start by gluing your wick to the bottom of the glass, I didn't. After you glue it to the bottom you can straighten your wick with two pens. I wanted to hold the wick in while I poured the wax into the cup but it didn't seem to work. So if you decide not to use glue then save the wick until after you pour the wax into the glass.

To create the coffee I used a microwave safe bowl. I put about 5 handfuls of soy wax, a few pieces of brown and black crayons, and a piece of the vanilla scent block. I put it in the microwave and mixed it with the skewer in one minute intervals until the wax, crayons and scent were fully liquefied. I had to go back and forth with wax and adjusting the color.

**When cleaning the bowl make sure the bowl is still warm and you use hot water. Take a napkin and wipe the bowl first and then wash it.
**If you are using oil put a few drops after the wax is melted.


Once it is the color I was looking for I poured it into the mug. Then I put the wick in the center and held the wick up by placing it in between two pens. I let my wax cool for a while- perfect time to get lost on Netflix or leave it overnight! Once it looked try I started the next layer...whipped cream. I put a handful of the soy wax into a bowl and put it in the microwave for a minute and a half to two minutes.
I added more wax after I took the the bowl out the microwave and mixed it until most of the pieces were dissolved.

I let it sit for a couple of minutes so it can thicken/harden up a little. Then, I used a spoon and put the topping around the wick. TA DA!

Now for the caramel syrup! I used crayons for this and melted orange, apricot, and blue. (There were probably other colors like yellow, too.) It was tricky to get the right brown. I took the spoon again and drizzled it over the whipped topping. Then, I cut the wick. Fin!
**If you want to test the color dip a toothpick into the wax and place the melted wax on a paper towel. The wax will cool into a lighter color and that is the color the wax will be when it is cooled down.

This next candle, the Martini Candle, was really easy! I only used three things. A martini glass, an old candle and a wick. (You can use the wick from the old candle if it is long enough.) I used the double boiler method to melt the wax. I took the Cherry Pie candle and put it in hot water over a low flame. I ended up adding more water to match the height of the wax.

After the wax melted I poured it into the martini glass and put the wick inside. I used pens to hold the wick in place and let the wax cool over night. When it's set I cut the wick.

Finally, the Hot Chocolate Candle! Soooo I didn't have any more brown crayons but I did have more of the Cherry Pie Candle left. How hard could it be to turn the deep red color into brown...hmph! Well, I used the double boiler method again and melted the candle and removed the wick. I then poured the wax into the mug, which wasn't enough. Now for the experimenting - I put a piece of the blue dye and yellow dye into the glass and some soy wax.

I melted it down and then poured it into the mug. I continued until the wax turned into a reddish brown. I let the candle cool for a few hours.
Now, the whipped cream again. This time I decided to do it a bit differently. I melted a handful of wax and vanilla scent together until it became a liquid.

Next, I made the chocolate syrup - more color experimenting. I cut red, blue and yellow pieces. I mixed it with a little bit of soy wax. I experimented with the color until it looked chocolaty. Then, I drizzled it over the whipped cream with a spoon.

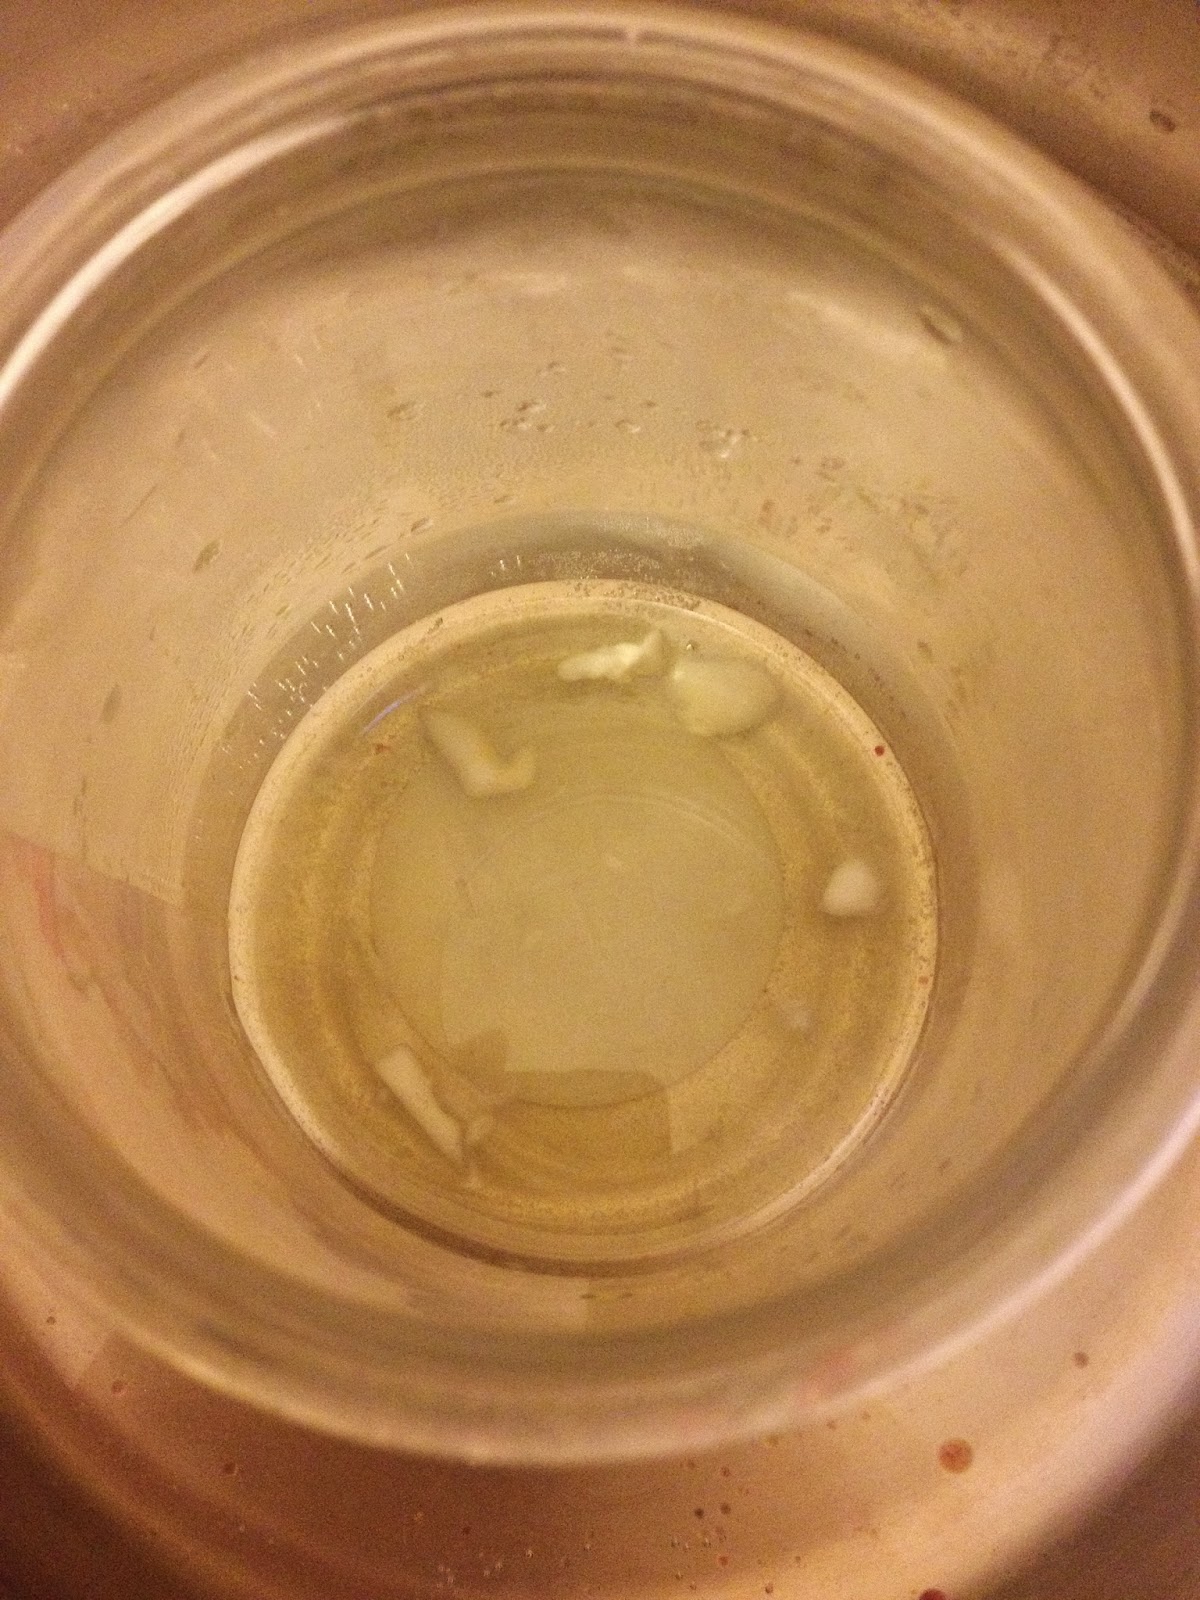
MARSHMALLOW TIME I put a little bit of soy wax into a plastic cup and put it into the microwave for about a minute.


HERE ARE THE OTHER FINISHED CANDLES!

P.S. Don't burn the martini with the umbrella.
YUMMY! It was so much fun. I read a bunch of different sites - some said to let the candle cure for 24hrs, one week or two weeks to get the full scent. Also, I have read to let the wax cool a bit before adding the scent because then it will be stronger.
Hope this was helpful. Have a safe and happy holiday! :)